It can be very satisfying eating from wheel thrown pottery plates. I thought I’d write about how use a pottery wheel for beginners who are interested in making plates.
Many moons ago I wrote an article about why potters don’t like making plates. Whenever I look at the catalogues of other potters they rarely have plates in their range – such a shame!

I have avoided making plates for many of the reasons in the article. In the end I just couldn’t resist making a set for us to eat our dinners from. It turns out I actually quite like making plates!
I’ve recently written a beginners guide to pottery and realised I could do more specific blogs about making different pots.
I’m not going to pretend to be an expert but I’ve learnt a few things along the way which may help someone. I’ve taken a couple of videos of me throwing and trimming to demonstrate too.
What sizes of clay for wheel thrown dinner plates and side plates?
A little while back I wrote about the clay weights and thrown sizes I use for common pottery items. To make things easy here are the vital stats for this article.
Dinner plates – 2kg clay. 12″ diameter, 1½” heigh
Side plates – 1kg clay. 9″ diameter, 1¼” heigh
These sizes will be around 13% smaller when fired due to shrinkage.
What’s my ideal size for dinner plates?
The diameter of the plates is probably the main consideration. My dinner plates end up being around 10½”, that’s about the maximum size I can make in my kiln. Most commercially made plates are around this size, and many cupboards will only accommodate plates up to 11″. My side plate is on the large size, but means it’s useful for larger snacks, suppers and breakfasts.
The height of the plate is also very important. I fell into the trap of making my plates very flat at first. It only needs a meal with anything liquid on it to see the problem with this. It’s also very hard to actually pick up a plate that is less than 1″ heigh, you simply can’t get your fingers under it.
Rim types for handmade plates
I just looked for a diagram of plate rim cross sections. It seems no-one has ever produced such a thing so I suppose I shall draw one!

There are probably many variations or other types of rims but these are the main ones I can think of. I gave them some names here, maybe there are proper names. The throwing process is that same for all rim types until the pulling of the rim.
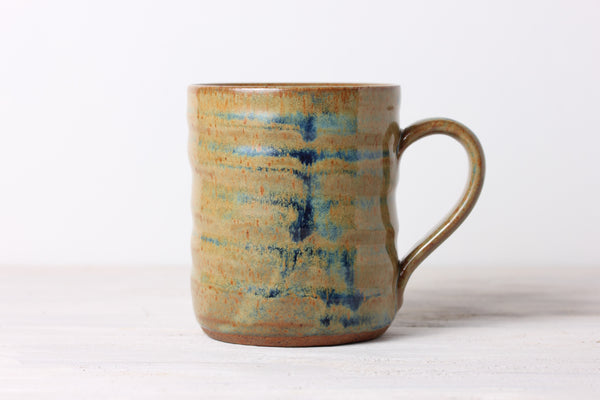
The traditional rim is formed with the right hand thumb creating the hollow on the top, and the index finder shaping the outside. By pinching it’s quite easy to pull the rim out with the left hand shaping the inner curve. My blue plate at the top of this page is made with this style rim.
The simple rim is formed in much the same way as a bowl. This is the type I have made in the videos.
The commercial rim is the type I see on most mass produced plates. Some people make this for their handmade plates. It is usually formed by pulling the rim up vertically, then folding it out with a rib or something flat.
I’m still not sure which rim type I prefer. The most important thing is that you can get your fingers underneath, apart from that it’s just about looks really.
How to use a pottery wheel to form the centre section of the plate
The centre part could either be totally flat, or very slightly bowl shaped. I prefer to make mine flat as it’s one less thing to worry about when trimming. Some potters like to put spirals in the centre while throwing. I keep my plates fairly smooth as to make eating easier with cutlery. I compress the centre of plates with a wooden rib to strengthen them and prevent cracking.
Should you trim a footring in hand thrown plates?
I don’t like trimming. My mugs and small bowls aren’t trimmed, they are thrown then thumbed off when leather hard. I tried making plates that weren’t trimmed to begin with. The problem is when cutting off larger diameter pots with a wire, the wire tends to rise up in the centre. This means you have a plate that is unstable. With a thin base they also tend to warp during drying.
Next I tried making plates with flat bottoms. I thought this would save some time trimming a footring and be less work glazing. The problem with this is some plates lift up during drying or firing. A perfecting flat trimmed base can end up only touching the table at its centre point, creating a spinning top to eat your dinner from!
I have resigned myself to trimming a footring. This means plates are thrown with around 1cm deep base. Around half of this is trimmed away. Apparently having glaze on the base between the footring improves the strength of the pot. I keep the footring edges rounded to prevent table scratches and avoid chipping.
How to trim plate footrings for beginners
For a while I trimmed footrings by putting the plate directly on the wheel head and holding it in place with lumps of clay around the rim. This had a few problems.
- The rim can get messed up during trimming or lifting it off afterwards
- You can’t easily pick the plate up to feel the weight or check inside profile
- The central section can get pushed down during trimming creating a bowed up centre on the interior
To overcome these problems I started using the method in the video below. I saw a similar thing done with a large coil of clay by another YouTuber. In my case I just use a lump of clay and kind of dry centre it my whacking it while the wheel is turning. Then I use a trim tool to neaten it up to the size of the flat section of my plates. It means the rim doesn’t touch the wheelhead. The plate can be lifted and check easily if needed and the centre is supported.
If you found this useful you may be interested in seeing some of my finished handmade tableware.