

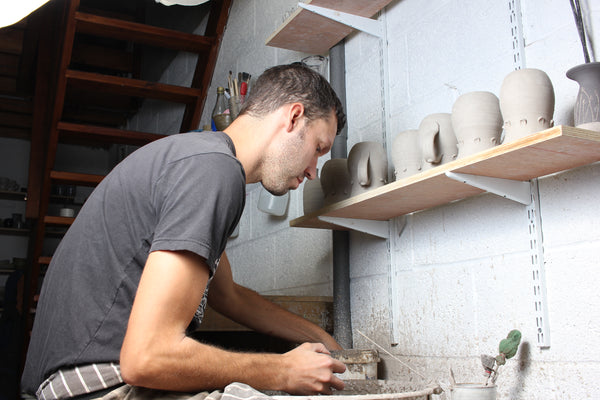
How to centre clay - The one sided method. Beginners Guide
I've wanted to write about centering clay for a very long time. It's a tricky thing to try and explain - probably why so many people struggle for so long with it.
Just think about learning to ride a bike. If you were anything like me you just kept trying and falling off until one day you rode across the lawn. It's very hard to explain that process, but once learnt the skill will never be forgotten.
Centering clay is much like learning to ride. It may seem mystical to the beginner, but once mastered it is really pretty simple.
I did not learn the technique quickly. I am no master of pottery and have not been born with centering super powers. I spent a crazy amount of time in my garage getting annoyed with balls of clay. I would've probably progressed much faster if I'd gone to some pottery lessons. Alas, I am stubborn and relied solely on my own experimentation and a few YouTube videos to help.
Hopefully I can help you progress a bit faster with this article and video. I haven't recorded the video yet but it will probably be fairly basic, unprofessional and rambling. I'll try and cover then most important stuff in the written word in case I forget things in the video.
Why is centering clay important?
Let's first ask ourselves why centering clay is important. It's possible to throw a lump on the wheel, push it roughly into a ball in the centre and then start opening up and throwing a pot. The problem is any small differences in the clay at the first stage is amplified once you start pulling the walls thinner.
The best outcome is you will end up with a pot that has uneven wall thicknesses. This will look strange and could result in drying cracks, or faults during firing. The worst outcome is the pot will flop over on the wheel before it is even finished.
Apart from anything else, clay that is not centered properly is very hard to work with. Anyone learning to throw needs all the help they can get. Centering properly makes all the later stages in throwing easier to deal with.
Beginner mistakes with centering
I think the biggest mistake when trying to centre is a mental one. I had problems thinking of the clay as a three dimensional object that I was trying to push into a ball in the centre. It's better to think of the clay as a two dimensional object that is spinning around - or a cross section from the centre to the edge.
I'm not sure that makes sense so I'll try explain it better in the video. If you push your finger into the clay at some point you will eventually centre that part of clay. The clay can be centered at some points and not at others. It's possible to centre the clay from only one side.
Steps to centering clay
Let's go through the practical process of centering.
1. Start with well wedged / kneaded clay. This will make the later stages of throwing easier.
2. Make sure the bottom of your ball is smooth - this is just good practise for nicely finished pots. I don't find it necessary to wet the clay or wheel to begin with.
3. Put the ball in the middle. If you're a great throw by all means throw it down. If not, just put it on the wheel in the middle. If you throw it down off centre you are just making your life hard from the start.
4. Give it a couple of taps from the top to make sure it's stuck to the wheel head. You can give it a little wiggle to make sure.
5. You can dry centre the clay to begin with to help out before adding water. As the wheel spins slowly, gently tap the clay into centre.
6. Get your hands wet and makes sure the clay is wet all over. No need to throw a tonne of water on though - this just creates more work cleaning out your wheel tray.
7. Start with one hand right on the wheel head and the other gently over the top of the clay. Push in at the very bottom and lift into a cone shape. Then push the cone down back into a ball, and restrict the clay from spreading out with one hand firmly on the wheel head.
8. Depending on the size of clay you may need to cone up and down a few times. For small lumps like mugs I only cone up once. Then I usually do a few small up and down movements to finish centering. On the last movement I try and leave the clay with an indent in the top. This helps with opening up the clay without putting it out of centre again.
9. If the clay is perfectly centered there should be no visible movement in the shape of the ball as the wheel turns.
Problems centering clay
- Ball flying off wheel. If this happens you may have put too much water on the wheel to start with. I don't use any water before sticking the ball firmly in the middle.
- Clay gets gritty. If it's taking ages to centre the clay all the smooth clay particles end up in the water tray. You are left with a groggy ball which isn't fun to work with. Probably best to wire this ball off and start again.
- Can't get it centered. Try centering from one side only and see what happens.
Improving your clay centering
I only have experience in my own centering techniques and problems. I'd love to hear your ideas or problems in the comments. It could really help someone else out there who is struggling.
The only way to improve really is to practice. Don't give up, you will be able to do it one day! After that you'll wonder why it seemed so difficult to master.
1 comment
Really helpful for a beginner, many thanks.