
How To Make Hand Thrown Stoneware Pottery
The process of making hand thrown pottery is long but very rewarding. Working with badly prepared clay makes the job of throwing pottery much harder. If the clay is softer ( more watery) in some parts than others, it may go thin unexpectedly during throwing. It will also dry at different rates which could cause cracking.
Preparing the clay
Luckily my clay is fairly easy to use straight from the bag. It just needs a little kneading to homogenise it and make sure there is no trapped air.
During the making process they is a lot of waste clay generated. Most potters recycle their clay. I throw all my scraps into a large bucket with a lid. When the bucket is full I break all the clay into small pieces and spread it out as thinly as possible in a container to dry. Doing this makes it easier to get it all at the same consistency.
Now I cover the dry clay with clean water and leave overnight. The excess water is drained off in the morning and the remaining clay is mixed with a big stick. I pour the sloppy clay onto a plaster bat which soaks up a lot of the moisture. The clay needs to be turned over after a few hours to dry more evenly.
Once the clay is nearing throwing consistency it is removed from the plaster bat and thoroughly wedged.
I work with set weights of clay for each piece of pottery. Before a throwing session I weigh out the lumps I need then cover to prevent drying before use.
Start throwing on the potters wheel

Once I have a nicely prepared lump of clay it's time to start throwing. The first stage in creating any pot is to centre the clay. This means it will be spinning in a uniform cross section without any visible wobbling going on. The easiest way to centre is to move the clay around. It is coned up by giving upward pressure from the base to the top. Once coned up it can be pressed down into a cylindrical form.
After the clay is centred, it will usually be opened. Opening means pushing down at the top centre part. The base thickness is set and the base pulled apart to the desired diameter.
The walls of the pot are coned in at this stage to assist in the lifting of the walls. Using the fingers at slightly different levels on the inside and outside, and giving gentle pressure towards each other, the walls are pulled upwards.
I use a piece of leather to smooth the rim of the pot. The base is given a slight undercut with a trim tool to assist the wire. Lastly, the wire is pulled under the base of the pot so it can be lifted from the wheel.
Trimming, Handling and Finishing
Freshly thrown pottery is left to dry for around 24 hours in my studio before anything further is done with it. After this time it is at the 'leather hard' stage. It is quite firm but still easily cut, smoothed or added to.
Most plates or flat items will have a footring that requires trimming. The plate is put on the wheel upside down and a sharp trim tool is used to carve out the footring and define the shape of the plate.
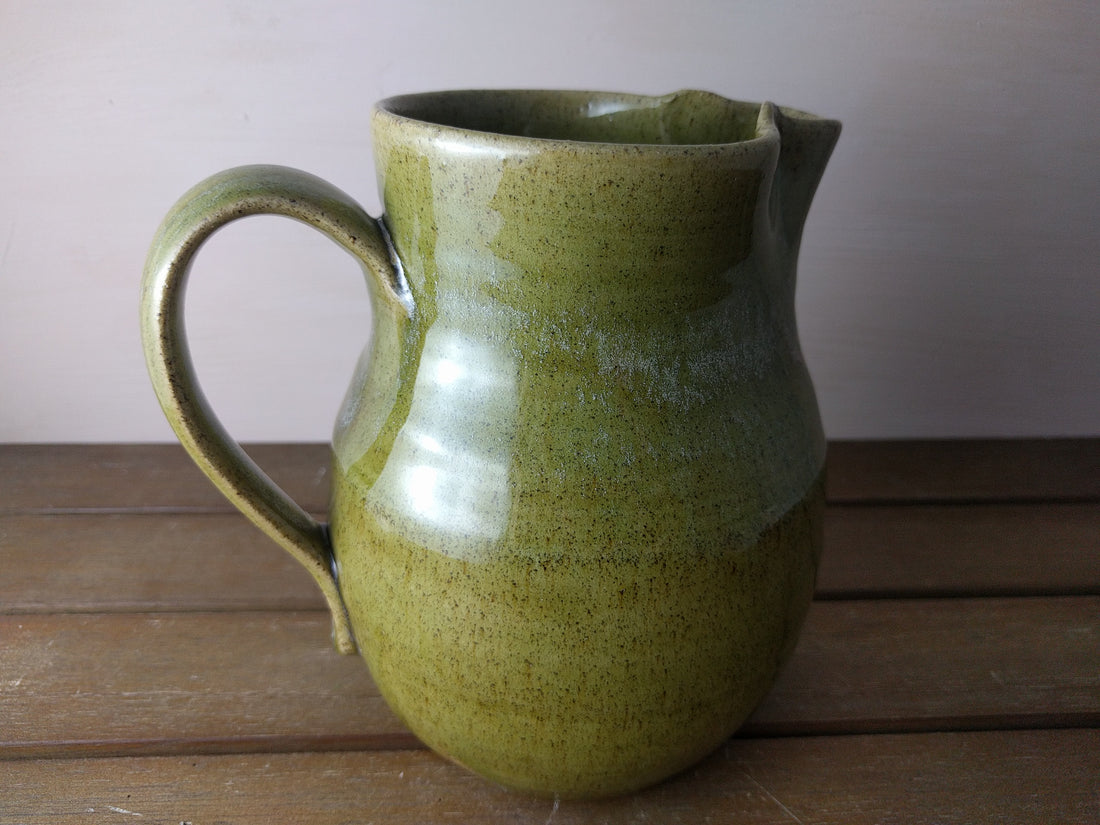
I pull handles for my mugs and cups. A large lump of clay is squeezed between the fingers and thumb downwards - a bit like milking a cow. The handle lengths are hung over the table edge to dry a little. The attachment location of the top of the handle on the mug is scored and a little water added. The pulled handle is then attached, wiggled around and smoothed before being pulled and attached at the base.
All of my pottery undergoes a final finishing session where any lumps or knicks are smoothed out, the bases smoothed around, and my seal impressed in the base.
Drying and Bisc firing
Once finished the pottery needs a good few days to get completely dry. After this it can be loaded into the kiln for the first firing called the bisc.
Without glaze the pots will not stick together so can be stacked or nested with layers of sand between them. The temperature of the bisc determines the absorption during glazing. I find cone 06 - around 1000 degrees Celcius works pretty well for me.
The bisc firing usually takes around 12 hours for me depending on how much pottery is in the kiln. Once it's finished and the kiln cools off overnight the pots can be unloaded.
Glazing the Stoneware
Before glazing it's important to give all the pots a look over. The bisc ware is still fairly soft so any minor imperfections can be sanded off.
There are different methods for glazing pottery. Some people use brushes to paint glaze on, it can also be sprayed on. The most common, and my preferred method is dipping.
I make glaze from my own recipes. The dry glaze ingredients are weighed out then water added to give a single cream consistency.
Using glazing tongs to hold the pots while dipping makes the job easier. Any little bits of missing glaze from the tong marks can be thumbed over to fill in. I clean the glaze from the bases of pots with a damp sponge, rather than waxing them before glazing.
Glaze firing handmade pottery
Things start to get really interesting around the glaze firing! Unlike the bisc firing all the pots need to be separated. If any glazed surfaces touch each other or the kiln furniture they will stick and be ruined.
I use pyrometric cones to check the correct temperature has been reached. They are placed opposite the spyholes in the side of the kiln. Eye protection like welding goggles need to be worn when looking into a white hot kiln. Once the kiln hits cone 8 (around 1280 Celcius) the cones bend over.
The glaze firing lasts around 10 hours and needs to be cooled for a day before opening the lid.
Unloading the kiln can be very rewarding or disappointing depending on the results. It's always exciting lifting the lid though!
1 comment
I was happy to find your page. I googled how to make stoneware, and found you. Thanks for a very informative page.